Arts and Crafts for Adults with Developmental Disabilities
It is always a great idea to nurture your creative side. Sometimes that is easier said then done, and it helps to have some arts and crafts activities up your sleeve- for a rainy day! Read on to discover some awesome, fun and low cost DIY arts and crafts activities for Adults with Developmental Disabilities.
Why is being creative important?
There are many positives to exposing people to art, and creative therapies. Arts and Crafts are high on the list for most people when they think of creative expression, including those with a range of Developmental Disabilities.
It can provide this particular group of adults with a positivie, creative outlet which may leave them with a sense of accomplishment. Not only this, but it can help improve social interactions and skills when done in a group setting. So let's get creative!
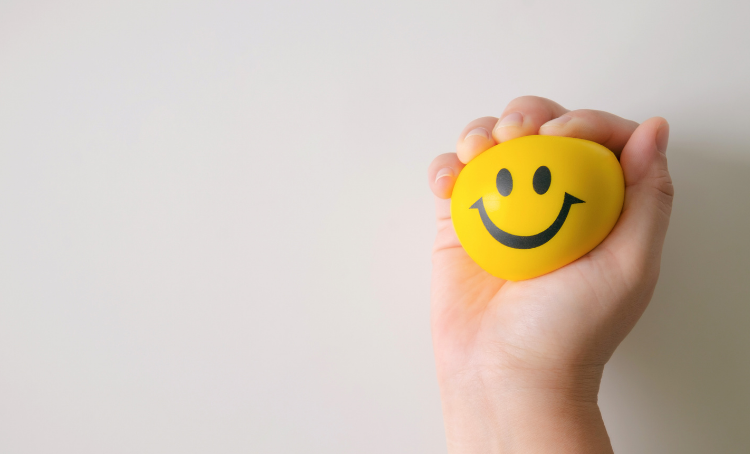
DIY Stress Ball
How do you make your own stress balls? Well, they are quick and easy to make with very few items needed to et started. We have tried to list items that will probably just be lying around your house, this will lower the cost and make the process a bit easier.. You could even make them with your group as part of an activity.
What you will need:
- A pair of old socks
- Flour from the pantry
- A packet of balloons
- A funnel
Step by step:
- Take an uninflated balloon and insert the funnel in the top
- Next step is to pour the flour into the balloon until it is filled to the top
- You will need to tie the balloon off with a knot. Ask someone to help you if you can't tie knots- this can be hard!
- Cut off any extra balloon rubber that is hanging from the knot
- Take the balloon and place it into one of the socks, then tie the sock closed
- Grab the second sock and repreat this process, making sure the knot is secure.
- Ta-da! You have you're own stress ball ready to use.
Stress balls can be beneficial for those with anxiety, sensory issues or people who just want to fidget with something! These DIY Stress Balls are a fun, cheap and easy to make option for anyone.
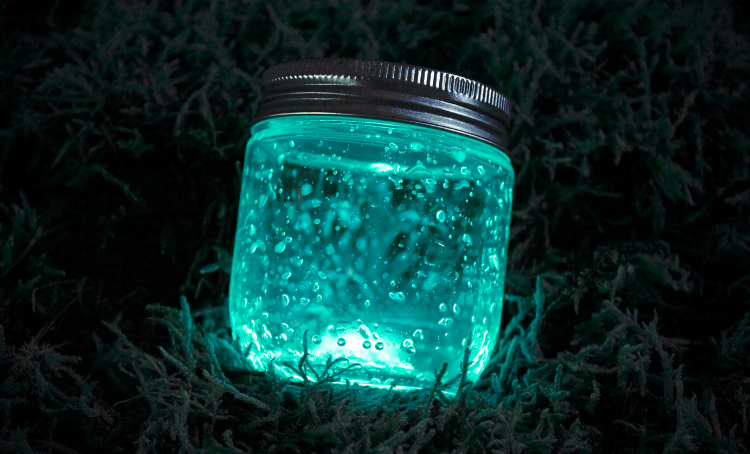
Glow in The Dark Jars
After a magical creative activity that will change the mood of any room? Try this simple, quick and fun activity that will leave you glowing inside and out.
What you will need
- 1 glass jar
- Different colours of flow in the dark paint
- Paintbrush
- Paper
- Arts & Crafts Glue
- LOTS of glitter & sparkles!
Step by step:
- Grab the glow in the dark paint and pour it onto your piece of paper out on the paper.
- Open the glass jar up, and dip your painbrush into your paint. Start to dab little flecks of paint over the inside of your jar. A hot tip: start at the bottom of the jar to avoid smudging the paint up the sides.
- Leave the jar to dry! This is important and requires a little patience.
- Whilst you are waiting for the jar to dry, take the lid off the jar and apply craft glue to it.
- Grab your magic glitter and sparkles and spread all over the jar in an EVEN layer. Make sure to get rid off excess when it dries.
- Put the lid back on once everything is dry and find a dark room! Watch your dull space light up, magically.
Trying to think of a place to put your brand new night light? Try hanging this glittery piece up with some string.
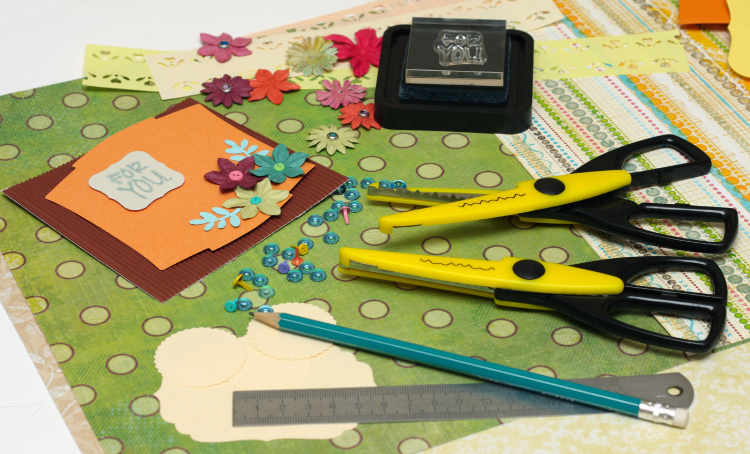
Scrapbooking
Let's take it back to the old school arts and craft world of scrapbooking. This DIY activity is fun, low on cost and can be stopped and started whenever you want!
What you will need
Because scrapbooking is so personalised, we are going to provide a rough outline of what you will need to get started. Remember, you can add anything you want into your scrapbook. You can buy all of this at your local craft shop or dollar store.
- All sorts of paper, plain, patterened or coloured.
- Sticky tape or Glue
- Stickers
- Scissors
- Photos
- Magazines
- A scrapbook album
Step by step:
- Select a theme for your page, and decide how your photos will sit on the page.
- Glue or sticky tape your photos or cutouts onto the page- however you want!
- Use your scissors to cut out shapes or strips of paper- you can add these to your design.
- Stick some stickers around your page, this can match the theme or be random!
- Make sure you are being creative and going with the flow- there are no set rules for scrapbooking.
Have fun, relax and do whatever you want with your pages. The best thing about scrapbooking is that is is personal, creative expression. There are no right or wrong ways to scrapbook. So lets get pasting!